Expert Tips on Painting Kitchen Cabinets White: A Friendly Step-by-Step Guide
Have you ever opened your kitchen one morning, looked around, and thought, “Hmm, my cabinets feel dark and dated. Maybe it’s time for a fresh look.” I had that exact moment about five years ago. I walked into my kitchen, and even though everything was clean and functional, the brown cabinets felt heavy. With sunlight streaming in, I couldn’t help but imagine how much brighter the space would feel if those cabinets were painted white.
Painting kitchen cabinets white is one of those do-it-yourself projects that can truly transform a home. It doesn’t always require a massive budget. What it does need, however, is patience, the right tools, and some insider knowledge. Over the years, I’ve not only tackled my own cabinets but also helped friends with theirs, and I’ve learned plenty of lessons, often the hard way.
This guide is my attempt to put every useful tip, warning, and smart trick into one big resource. If painting cabinets has been on your list, grab a cup of tea, and let’s walk through it together.
Why White Cabinets?
White cabinets have this timeless appeal. They go with nearly everything—farmhouse, modern, coastal, eclectic—you name it. White also reflects light, instantly making small kitchens look more open. In fact, my kitchen isn’t huge, but after painting the cabinets white, guests often asked if I had done a remodel. Nope—it was just the paint playing tricks!
Another reason to choose white? Flexibility. If you enjoy switching out décor or hardware every few years, white acts as a perfect canvas. Black hardware makes it look modern, brushed gold feels elegant, and wooden handles give it warmth.
What Is the Best Way to Paint Kitchen Cabinets White?
This is the million-dollar question. Painting cabinets isn’t the same as slapping paint on a wall. Cabinets take abuse every single day—hands tugging them open, steam from cooking, sometimes a splash of tomato sauce landing just where you don’t want it.
So, the key is durability + a flawless finish. Let’s break it down step by step:
1. Choose the Right White Paint
Not all whites are the same. Some lean warm (with hints of yellow or beige), and some lean cool (with touches of gray or blue). For example, in my kitchen, I went with a warm white because I have a wooden floor, and the warmth made the room cozy. My neighbor, however, has sleek gray countertops, so she picked a crisp, cool white that made everything look fresh and modern.
Pro Tip: Always bring home a few sample pots of white. Paint each on a small piece of wood (or even on the inside of a cabinet door), and watch how the shade looks during the day and at night. You’ll be shocked at how different “white” can look depending on lighting.
As for finish, opt for satin, semi-gloss, or even high-gloss. These finishes are more durable and easier to wipe down. Matte might look trendy, but trust me—every fingerprint will show, and cleaning will be a headache.
2. Gather the Right Tools
Here’s a simple supply list:
-
Screwdriver (to take off doors and hardware)
-
Painter’s tape
-
Degreaser or dish soap (to clean cabinets)
-
Sandpaper (medium and fine grit)
-
High-quality primer (stain-blocking if possible)
-
High-quality enamel paint or cabinet paint
-
Brushes, foam rollers, or a sprayer (we’ll talk about which is best soon)
-
Drop cloths and plenty of patience
When I did my first cabinet makeover, I thought I could get away with skipping good brushes. Big mistake. Cheap brushes left streaks, and I spent hours sanding them out. Invest in decent tools—it saves time later.
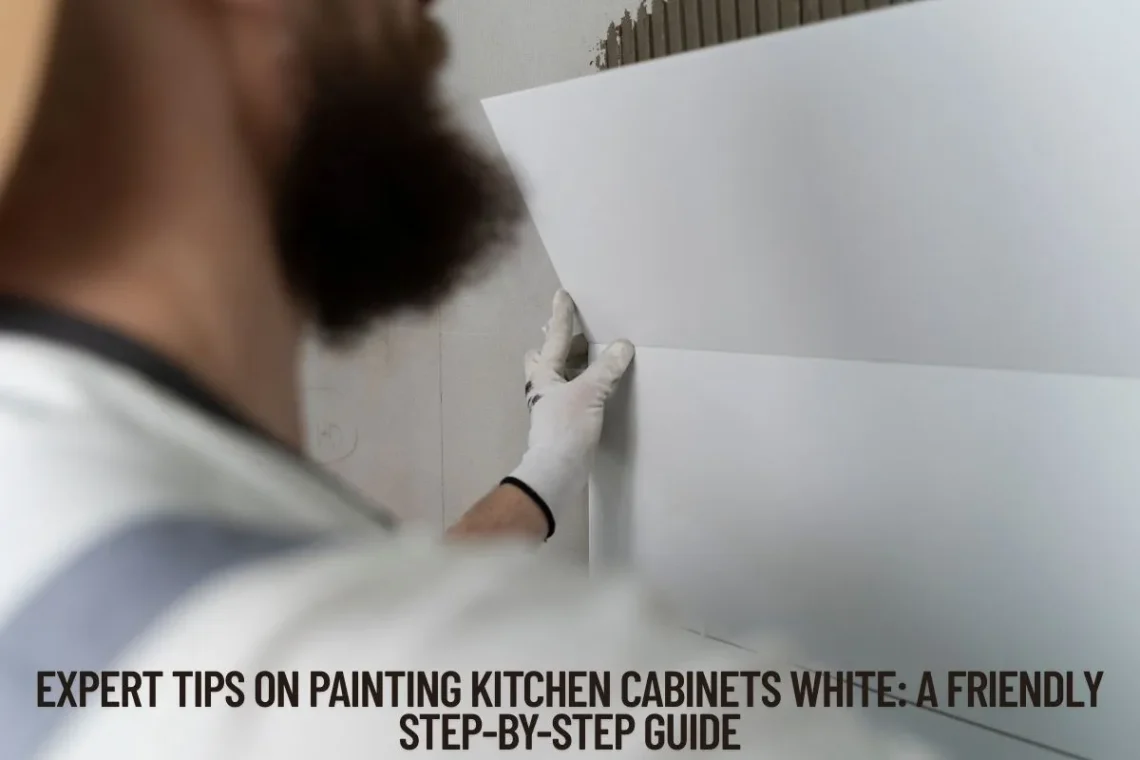
3. Prep Before You Paint
If you’re the kind of person who wants to jump right into the fun part, hear me out: prep is 70% of the job. I once skipped sanding on a test cabinet in my pantry. Within a month, the paint started chipping right where my hands touched most often. I had to redo it.
Steps:
-
Remove all doors, drawers, and hardware. Label them with tape so you don’t mix them up.
-
Clean thoroughly with a degreaser. Even small amounts of oil from hands can ruin paint adhesion.
-
Sand lightly to roughen surfaces. Wipe away dust.
-
Tape off walls or areas you don’t want paint on.
It sounds boring, but when you see that perfectly smooth final coat, you’ll thank yourself.
4. Prime First
Never skip primer. Primer is like the foundation of makeup—it helps the topcoat stay put and look even. For dark wood or cabinets prone to staining, a stain-blocking primer is essential.
A quick story: My cousin painted oak cabinets without primer. Within weeks, brownish stains seeped through the paint. She spent double the time fixing it later. Don’t repeat her mistake.
5. Apply Thin Coats of Paint
Here’s where patience is tested. Don’t rush. Apply thin coats, let them dry completely, lightly sand between coats, and keep going until the coverage looks perfect. Usually, two to three coats are enough.
Painting thick coats feels tempting. But that’s when drips and uneven textures happen. Thin coats might take longer, but they look more professional in the end.
How To Paint Kitchen Cabinets So They Look Good?
Every painter dreams of that silky-smooth finish, the kind you see in magazines. Here’s how to give yours the “wow” factor:
Use the Right Tool for Each Area
-
Brushes are great for corners and detailed spots.
-
Foam rollers are amazing for the larger flat areas.
-
Sprayers give the most flawless finish, but they require practice and setup.
When I helped my friend Emily, we used a sprayer for the first time. At first, we sprayed too heavily, and the paint developed few drips. After adjusting, though, we got that glossy, factory-like finish. If you’re new, start with a roller—it’s forgiving and still beautiful.
Sand Between Coats
Lightly sanding (with a fine grit, around 220) between coats smooths everything. Dust first, then wipe clean before adding the next layer.
Don’t Forget the Edges
Edges are easy to neglect, but if they’re rough or patchy, you’ll notice every single time you open a cabinet. Take your time here.
Is It Better to Brush or Roll Paint on Cabinets?
This is a common debate. The truth: it depends.
-
Brushes:
-
Best for corners, grooves, and detailed areas.
-
Can leave brush marks if you’re not careful.
-
-
Foam Rollers:
-
Great for large, flat surfaces.
-
Can give a smoother, almost sprayed look.
-
-
Sprayers:
-
Deliver the smoothest finish (like factory cabinets).
-
Require careful masking, good ventilation, and steady hands.
-
From my personal projects: when I painted my first cabinets, I used brushes and small rollers. The result looked great to me, but a close look revealed faint strokes. On my second project, a friend loaned me his sprayer. That’s when I realized the magic of spraying—but it was far messier. If you’re new, start with rollers, and if you love it enough, maybe step into the world of spraying later.
What I Wish I Knew Before Painting Cabinets
This is the honest part—the “I wish someone had told me” section.
-
It takes way more time than you think.
My first project? I thought I’d finish in a weekend. Turns out, between drying, sanding, and second coats, it took nearly two weeks. Be patient. -
Your kitchen will be a mess for days.
I had cabinet doors leaning against walls, counters cluttered with supplies, and my dining table covered in drying drawers. Plan—you’ll want a backup space for cooking. -
White shows everything.
White is gorgeous, but if you slack on prep or rush painting, every flaw will be visible. Sand well, apply even coats, and don’t cut corners. -
Good hardware makes a huge difference.
I nearly kept my old handles to save money. But when I finally installed new knobs, the whole project felt complete. Even budget-friendly hardware can elevate the look. -
Kids and pets are curious.
My cat brushed his tail against a still-wet cabinet door once. I had to sand and repaint. Lesson learned—keep doors dry in a pet- and kid-free zone.
Common Mistakes People Make When Painting Cabinets White
-
Skipping sanding and primer
-
Using cheap brushes or rollers
-
Painting over grease or dust
-
Not allowing coats to fully dry
-
Forgetting to label cabinet doors (trust me, you don’t want to guess where each goes later)
My Favorite “Finishing Touch” Tricks
Once your cabinets are painted white, consider these final touches:
-
Soft-close hinges: They add luxury for a small cost.
-
New handles/knobs: Matte black, brushed brass, or even wooden pulls can transform the whole vibe.
-
Matching white caulk: If you see tiny gaps after rehanging cabinets, caulk neatly for a perfect finish.
-
Under-cabinet lighting: White paint reflects light beautifully; add under-cabinet strips for extra glow.
A Real-Life Before and After Story
When I painted my own cabinets, the “before” was dark cherry wood. After the makeover, neighbors who stopped by said the kitchen looked twice the size. But here’s the truth: it wasn’t just about white paint. It was about the process—taking time with prep, using the right brushes, and not rushing coats.
Later, my sister did her cabinets, but she skipped sanding because she “wanted to save time.” Within months, chips appeared near the handles. Watching her frustration confirmed what I always tell people: prep is as important as paint.
Final Thoughts
Painting your kitchen cabinets white can be one of the most rewarding home projects you’ll ever take on. It’s not always quick, and it’s not always easy—but it’s absolutely doable with patience and the right tips. The best advice I can give? Don’t rush, don’t skip steps, and choose a shade of white that makes you happy every time you walk into the room.
I still remember standing back after finishing my first set of freshly painted cabinets. The sun came through the window, bounced off those white surfaces, and the whole space felt new. That’s the joy waiting for you too.

Best Home Air Purifiers: UK Picks

You May Also Like

The Hidden Benefits of Custom Outdoor Paths & Entrances

Stylish and Safe Log Burner Hearth Ideas: Design Tips from Real Homes