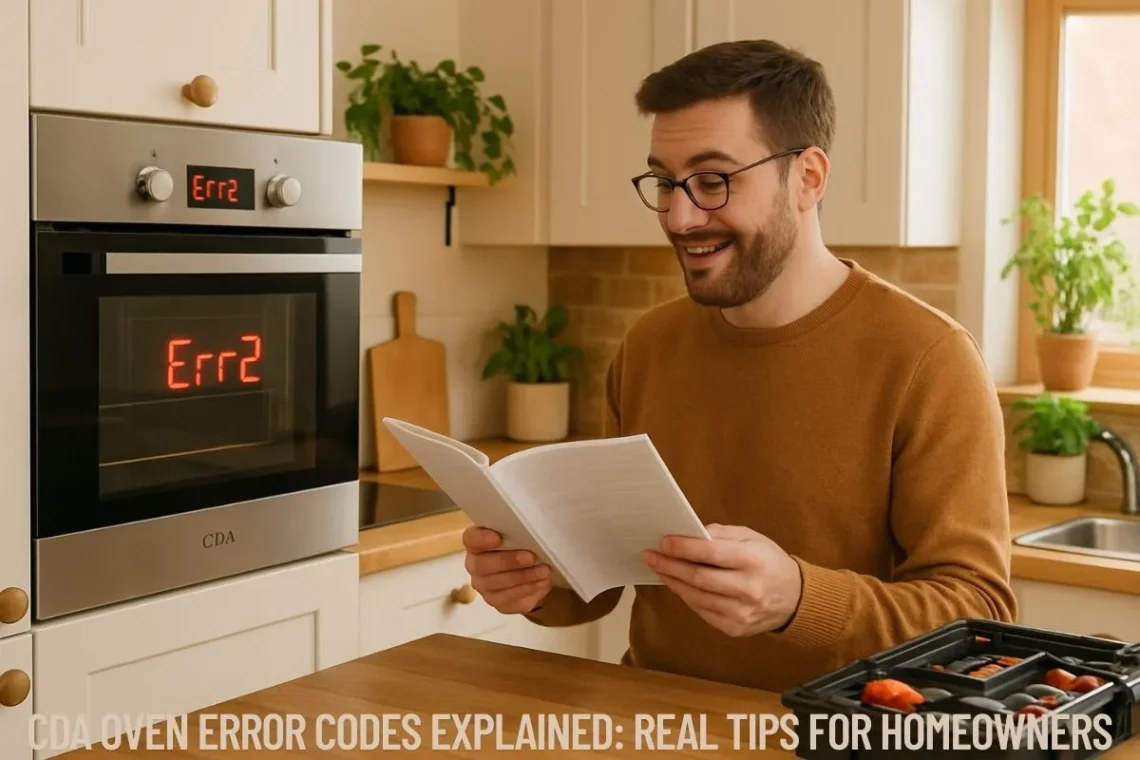
CDA Oven Error Codes Explained: Real Tips for Homeowners
Do you own a CDA oven or are you thinking about fixing one? Error codes may pop up on the display and feel scary, but don’t worry. Most problems can be solved quickly with a bit of knowledge and confidence. Here’s a friendly, in-depth guide to CDA oven error codes, why they happen, and how you can fix and save money on home appliances—especially older ones.
Let’s dive in, step by step!
Table of Contents
ToggleUnderstanding CDA Error Codes: The Basics
CDA ovens, like most modern appliances, are smart. They show error codes when something is wrong. These codes help you find the problem without opening up your oven or guessing what’s broken.
Common CDA oven error codes include:
-
F01 / E01: Temperature sensor error, or no temperature sensor detected.
-
F02 / E02: Oven has overheated.
-
F04 / E04: Door interlock (problem with closing or latching oven door).
-
F05 / E05: Generic cooking or system fault.
-
F10: Power cut during cooking, for your info only.
-
AUTO: Oven stopped after 23.5 hours, auto shut-off.
Personal anecdote: I once had an E01 error pop up just as my homemade pizza was about to go into the oven. I panicked, but a quick online search helped me spot the temperature sensor issue. I disconnected and reconnected the oven, and boom—problem gone. Simple troubleshooting makes a big difference!
Why It’s Good Now: Save Money and Stress With DIY Fixes
Knowing how to decode and solve CDA oven errors is a big win for families and homeowners. It saves you from calling a repair technician for small issues, making your appliances last longer, and keeping your wallet happy. With green, cost-saving habits back in style, learning to fix home appliances—rather than instantly upgrading—is a smart move.
How to Fix Error Code on Oven
Facing an error? Don’t worry! Try these simple steps:
1. Reset the Oven
-
Switch off the oven at the mains for at least 5 minutes.
-
Switch back on and check if the error code disappears.
2. Check for Obvious Problems
-
If there’s a temperature sensor error (E01/F01), look for loose wires behind the oven panel or a disconnected sensor.
-
For overheating errors, check if vents or fans are blocked.
-
For door faults, gently press or adjust the oven door, making sure it latches properly.
-
If the code won’t clear, write it down and search for instructions online or in your CDA manual.
3. Call A Technician If Needed
Some errors, like control board faults, are best left to pros. But many everyday problems—like sticky doors, loose knobs, or power outages—can be solved with guidance and a little DIY spirit.
A friend told me, “Fixing my oven felt daunting, but taking it step by step, I realized most issues just needed a reset or a gentle fix. I saved on service fees and felt proud of my handiwork!”
Why Does My CDA Oven Keep Beeping?
1. Normal Alerts
-
Beeping is usually a sign that your oven is:
-
Preheated and ready.
-
The timer is done.
-
The temperature gauge has hit your set value.
-
2. Error Code Alerts
-
Continuous beeping, sometimes alongside a numeric code, warns you of faults like overheating, sensor issues, or control board malfunctions.
3. What To Do
-
Press off or reset to quite simple alerts.
-
For frequent or unexplained beeping, check for error messages. Switch off the oven if necessary and call for help if the problem stays.
Expert tip: Beeping is your oven’s way of keeping you safe—never ignore it for long. Check the manual or online forums for help.
Personal story—My oven wouldn’t stop beeping one Sunday morning while I was baking bread. At first, I thought it was the timer, but it kept going. Turns out, the oven wasn’t heating up and the fan was blocked by crumbs! Cleaning it fixed the issue, and my house finally felt peaceful again.
Why Is My CDA Oven Not Heating Up?
This is a common complaint, especially with older ovens. Here are the main causes and solutions:
-
Heating element fault: The oven fan runs, the lights come on, but no heat is produced.
-
Solution: Replace the faulty element. Turn off the oven, follow safety instructions, or call an expert if unsure.
-
-
Thermostat issues: The thermostat regulates temperature. If it’s broken, you’ll get no heat (or overheating).
-
Solution: Thermostat replacement restores proper heating.
-
-
Fan trouble: A blocked or broken fan will stop heat from circulating.
-
Solution: Clean the fan and check for obstructions.
-
-
Timer or clock failure: Some CDA ovens need the timer to be set to operate. Check settings and reset if needed.
-
Door problems: Oven doors that don’t close properly cause heat loss.
-
Solution: Adjust or replace the hinges and seals for a tighter fit.
-
Anecdote—My neighbor’s CDA oven stopped heating one Diwali. We discovered the element was burnt out; with a quick online video, we replaced it in an afternoon. The family saved repair fees and their sweets made it to the dinner table on time!
How to Fix CDA Dishwasher F9 Error
CDA dishwashers sometimes show error codes too. F9 is one you may encounter, and here’s how to fix it:
-
F9 usually means a water inlet or drainage problem.
-
Step 1: Power cycle the dishwasher—switch off and on.
-
Step 2: Clean filters and untangle the drain hose.
-
Step 3: Check for blockages in the drain pump.
-
If the error stays, inspect for faults with the water inlet valve or control board. Consult the manual for specific steps, or call a repair pro. Remember: always unplug appliances before working on them!
Core Content Idea: Green Savings With CDA Ovens
Eco-friendly tips for cost-saving on older appliances:
-
Maintain and clean regularly: A clean oven uses less energy and lasts longer.
-
Replace broken parts: Swapping a thermostat or seal costs less than buying a new oven.
-
Upgrade only when truly needed: Energy-efficient models save on utility bills, but fixing and maintaining older ovens prevents unnecessary waste.
-
Use appliances wisely: Run ovens and dishwashers during off-peak hours to lower electricity costs.
-
Look for local rebates: Sometimes, repair or upgrade programs are available for efficient appliances.
Personal insight: Years ago, I used to throw away gadgets at the first sign of a fault. Learning to repair and upgrade, piece by piece, made me proud and saved lots of money for my family.
How to Interpret and Respond to CDA Oven Error Codes
Common Error Codes List—Quick Reference Table
| Error Code | Meaning | What To Check | Quick Fix |
|---|---|---|---|
| F01/E01 | Temperature sensor error | Wires, connections | Reset or call pro |
| F02/E02 | Oven overheated | Vents, fan, thermostat | Allow to cool, clean |
| F04/E04 | Door fault/interlock | Latch, hinges, seals | Realign or replace |
| F05/E05 | General system fault | Power supply, control board | Reset, call expert |
| F10 | Power cut info | Wiring, load | Restore power |
| AUTO | Auto stop timer | Clock/timer | Reset timer |
Advanced CDA Oven Troubleshooting: Solving Tough Problems
For more puzzling CDA oven faults, it’s important to look beyond the basic error codes. Rare codes such as “E0” often relate to temperature reading errors that can’t be fixed by a simple reset. If you spot “E0,” this means your oven’s sensor or control board may need specialist help. Don’t try to force your oven to work—reach out to a certified technician for safety.
Other less common, but possible faults include noisy fans (often dry motor bearings), erratic heating (possible faulty control knob, clock, or incorrect fan settings), and doors that won’t close due to broken seals or loose clips. If the timer or pre-set clock is not functioning, know that some CDA ovens won’t start heating until the timer is set, so always check your settings first.
Personal tip: Keeping your oven manual handy can save headaches! Mine lives in a kitchen drawer and has helped me troubleshoot both fan noises and door latch issues—sometimes all it takes is a quick read.
Smart Energy Efficient Tips for CDA Ovens
Saving money and energy with CDA ovens is very doable, especially with a few practical habits:
-
Cook multiple dishes at once by using both racks. You’ll reduce cook times and electricity use.
-
Use ceramic or glass pans. These retain heat better, so you can often cook at lower temperatures.
-
Don’t peek too often. Every time the oven door opens, heat escapes and the oven works harder. Use the oven light.
-
Turn off power early and let the oven’s residual heat finish the job.
-
Thaw food completely before cooking for more even and faster results.
-
Keep burner pans and oven interiors clean for maximum heat reflection and efficiency.
A neighbor shared how batch cooking not only reduced energy bills but meant her family had home-cooked meals ready for busy weekdays. Smart use of your CDA oven benefits both your budget and the environment.
Lesser-Known CDA Dishwasher Error Codes and Solutions
CDA dishwashers also use error codes to signal problems. Besides F9 (drainage or water inlet trouble), you might see codes for water overflow, heater sensor faults, or spray diverter errors. Follow these steps:
-
Restart the machine after checking hoses and filters for blockages.
-
Make sure the water tap is fully open and the door is properly closed.
-
Watch for white stains or rust: Check salt compartment caps and rinse aid settings, as these can affect cleaning performance.
One user found their dishwasher flashed a code after a college party—turns out, a spoon had jammed the spray arm! Removing the blockage and running a cleaning cycle solved the issue, saving a call to customer service.
Everyday Oven Symbol Tips
CDA ovens are loaded with features like child locks, pre-set cooking programs, and timers. Use the timer to prevent burnt meals, set the child lock when little ones are helping in the kitchen, and try pre-sets for perfect roasts or pizzas. If your bread comes out uneven or pizza burns on one side, double-check your fan and mode settings and avoid cramming too much in at once.
Personal anecdote: When I first used a CDA oven, the pizza was a little wonky—half undercooked, half crispy. By switching from conventional to fan mode, the next batch came out just right. Small adjustments make a big difference!
Tips for Keeping Your CDA Oven Running Well
-
Read the manual carefully: Manuals have valuable troubleshooting info—never skip them.
-
Keep the oven clean: Crumbs, spills, and grease can cause fans to jam or heat to escape.
-
Check settings before cooking: Make sure you’re on the right mode. (I once baked cookies on grill mode—lesson learned!)
-
Look, listen, and smell: Unusual noises, strange smells, or unexpected lights/beeps are clues to investigate.
-
Ask for help: Don’t be afraid to search online forums or ask a neighbor with experience.
Unique Insights: Staying Green and Cost-Savvy
Repairing older appliances is a growing trend, especially for eco-conscious consumers. Fixing a CDA oven or dishwasher keeps electronics out of landfills and can save hundreds over buying new. Smart consumers research their appliances before replacing them, building confidence while helping the planet.
Personal anecdote: My childhood kitchen had a classic CDA oven that lasted for nearly 20 years. Each time it beeped or showed a code, we’d gather as a family to read the manual and solve the puzzle. Those moments brought us together, saved money, and taught us valuable skills.
Summary and Encouragement
CDA oven error codes don’t have to be scary or expensive. Whether you face beeping noises, heating problems, or error codes, follow the steps above for simple, cost-effective troubleshooting. With helpful user stories, expert advice, and a dash of patience, you’ll feel confident using, fixing, and keeping your oven running for years to come—saving money and doing good for the environment.
You May Also Like

Laura Ashley Lamp Shades: Timeless Style & Buying Guide
May 12, 2025
Tips to Help Minimize Health Risks When Living in Older Buildings
January 6, 2026

