Remove Black Mould from Bathroom Sealant: Easy Steps and Safety Tips
There’s nothing worse than spotting ugly black mould along your bathroom sealant. It seems to pop up no matter how often you clean, and it can be stubborn to remove. But don’t worry—removing black mould from bathroom sealant is easier than you think if you follow the right steps and safety precautions. This guide explains why sealant goes black, how to clean it safely, what works best, and what to avoid. Plus, I’ll share some personal experiences and insights to help you keep your bathroom fresh and mould‑free.
What Causes Black Mould on Bathroom Sealant?
Before you jump to cleaning, it’s helpful to know why your bathroom sealant goes black in the first place:
-
Bathrooms are moist and humid environments, which create the perfect breeding ground for mould spores.
-
Silicone sealant, while water-resistant, isn’t mould-proof. Over time, dirt, soap scum, and water collect on the surface and inside tiny cracks.
-
Poor ventilation and infrequent cleaning encourage mould growth.
-
Warm temperatures accelerate mould spores’ growth.
I remember the first time I noticed black mould creeping up in my shower—the room had no window, and the fans hardly ran. Once I improved airflow and cleaned regularly, the mould shrank and stayed away longer.
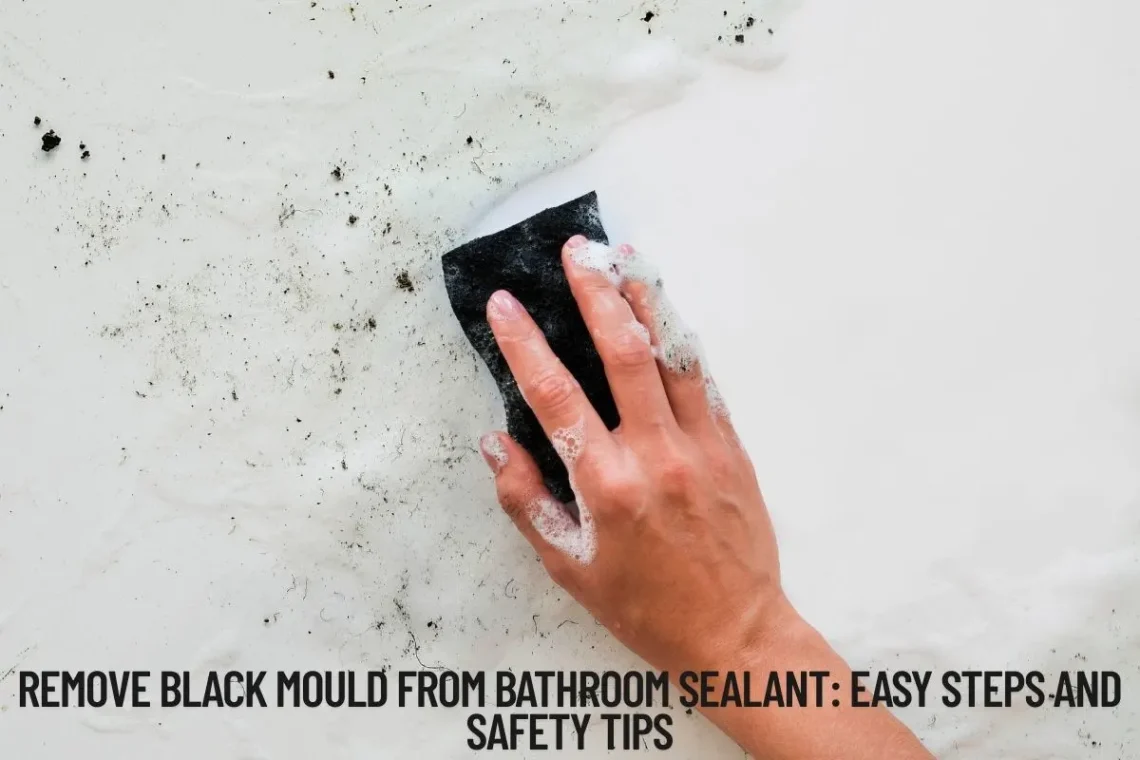
How to Get Black Mould off Silicone Sealant?
Here’s a simple, step-by-step process to tackle mould on silicone sealant:
Step 1: Gather Your Supplies
-
White vinegar or mildew remover
-
Baking soda (optional)
-
Soft scrub brush or old toothbrush
-
Spray bottle
-
Gloves and eye protection (safety first!)
-
Cloth or sponge
-
Bleach (for stubborn mould, use carefully)
Step 2: Ventilate the Bathroom
Open windows or turn on the exhaust fan. This helps protect you from inhaling mould spores or cleaning fumes.
Step 3: Dry the Area
Make sure the sealant is dry to allow vinegar or other cleaning solutions to work effectively.
Step 4: Spray Vinegar or Mild Cleaner
-
Fill a spray bottle with undiluted white vinegar.
-
Spray generously on the black mould spots.
-
Let it sit for at least 1 hour to kill the mould.
Step 5: Scrub Gently
With a soft brush or toothbrush, gently scrub the sealant. Avoid harsh scrubbing to prevent damage to the silicone.
Step 6: Rinse and Dry
Once the mould loosens and fades, rinse the area with water and dry thoroughly with a clean cloth.
Step 7: Repeat if Needed
For stubborn patches, repeat the process. For really aggressive mould, a diluted bleach solution (1 part bleach to 10 parts water) can be used carefully with good ventilation and gloves.
Extra Tip: If you want to make your own natural paste, mix baking soda and water to a thick consistency and gently rub it on the mould before spraying with vinegar. This can help lift tough stains.
Why Does Bathroom Sealant Go Black?
Bathroom sealant turns black mainly due to mould growth, but other factors contribute:
-
Over time, soap residue and minerals build up along the sealant, creating a perfect spot for mould.
-
If there are cracks or gaps in the sealant, water can seep inside, leading to hidden mould.
-
Sealants that have aged or degraded lose their water resistance.
-
Poor bathroom ventilation keeps the area damp, encouraging mould spores to settle.
-
Not cleaning regularly allows mould to thrive unnoticed.
When I replaced my old sealant with a new mould-resistant silicone, the black spots reduced drastically. Regular cleaning and a small fan running after showers made a big difference.
Does Harpic Remove Mold?
Harpic products are popular bathroom cleaners, and some claim to remove mould. Here’s what you should know:
-
Harpic toilet cleaners are not ideal for mould on sealant as they’re designed for sanitary surfaces, and may not work on silicone mould.
-
Harpic disinfectants and bathroom cleaners can help remove mildew and surface mould but may not penetrate sealant cracks.
-
For best results on sealant, invest in specialized mould removers or use vinegar/bleach-based solutions.
Always check the product label and safety information. I once tried a toilet cleaner on my bathroom mould and found the smell overwhelming without much effect.
Will Vinegar Remove Mold from Silicone?
Yes! Vinegar is one of the easiest, safest, and most effective natural solutions for mould on silicone sealant. Its acidic nature helps kill mould spores and break down stains.
-
Use undiluted white vinegar on the mouldy sealant.
-
Spray, sit for at least an hour, then scrub.
-
Vinegar deodorizes and leaves less harmful residue than harsh chemicals.
I often recommend vinegar for families with children or pets because it’s gentle yet effective.
Safety Tips When Removing Mould
-
Always wear gloves and eye protection when using bleach or commercial cleaners.
-
Ensure the bathroom is well ventilated during cleaning.
-
Test any cleaning solution on a small, hidden spot of silicone before full application.
-
Avoid mixing bleach with vinegar or ammonia as toxic fumes can form.
-
Replace sealant if mould keeps returning or if it’s cracked and damaged.
When to Replace Bathroom Sealant
Sometimes cleaning mould is a short-term fix. You should consider replacing the silicone sealant if:
-
It has visible cracks, peeling, or is no longer watertight.
-
Mould has penetrated deep and keeps coming back despite cleaning.
-
The sealant is yellowed, brittle, or very old.
Removing old sealant and applying fresh mould-resistant silicone creates a clean, durable barrier—my best advice is not to delay this step if you spot trouble.
How to Replace Bathroom Sealant (Brief Overview)
-
Cut and remove all old sealant carefully with a utility knife or sealant remover tool.
-
Clean the area thoroughly with warm soapy water and wipe dry.
-
Apply masking tape on both sides of the joint to keep lines clean.
-
Use a mould-resistant silicone sealant and apply in a continuous bead.
-
Smooth using a wet finger or sealant tool.
-
Remove tape immediately after smoothing.
-
Let it cure fully (usually 24 hours).
I once waited too long to replace mouldy sealant, and the water damage underneath caused bigger problems. Fresh sealant was a small investment that saved me loads of hassle!
Regular Tips to Prevent Mould Growth on Sealant
-
Dry your bathroom after showers, especially on walls and seals.
-
Run a fan or open a window to improve air circulation.
-
Clean sealant regularly with mild vinegar sprays or bathroom cleaners.
-
Use mould-resistant sealants when replacing or renovating bathrooms.
-
Keep soap and shampoo residue wiped off seals.
-
Consider using a dehumidifier if your bathroom is very damp.
Personal Anecdote: My Mouldy Battle
When I moved into my first flat, the bathroom sealant was a nightmare—black mould everywhere. At first, I tried scrubbing with bleach and harsh sprays but the mould returned after a week. Then my neighbor recommended a vinegar soak and scrubbing with a toothbrush. It worked much better and was less harsh. After replacing the old sealant with a mould-resistant one, the bathroom stayed fresh for years.
Quick FAQ
How often should I clean bathroom sealant to prevent mould?
At least once every two weeks.
Can I use bleach directly on silicone sealant?
You can use a diluted bleach solution carefully, but always rinse well and ventilate.
Does mould on sealant pose health risks?
Yes, it can worsen allergies and respiratory issues.
Can I prevent mould completely?
With good ventilation and regular cleaning, mould can be greatly reduced if not fully eliminated.
Final Thoughts
Black mould on bathroom sealant is common but manageable. With the right approach—using vinegar, mild scrubs, and safety measures—your bathroom can stay fresh and healthy. Regular cleaning and proper ventilation are your best friends, and when mould gets stubborn, replacing or repairing sealant is the smart move.
Remember: a clean sealant means a happy bathroom and healthier home!
If you want, I can help you with a simple checklist for bathroom mould cleaning or a quick guide to sealant replacement.


You May Also Like

Affordable Serena & Lily Outdoor Furniture Alternatives
How to Prevent Blocked Drains: Expert Tips for Homeowners